Followers

NOTICE:

Now you can click on photo and it will zoom in. Thanks to the HighSlide Javascript. How to do it? its in my "Blog Stuff" page...
Showing posts with label Helicopter. Show all posts

Wednesday, January 28, 2015

Trumpeter 1/72 CH-47A Chinook Helicopter - WIP#5 (decal completed)

Updates biggrin.gif biggrin.gif biggrin.gif


[The rest of the build WIP can be viewed @CH-47a Chinook WIP]

- A very productive weekend for me..

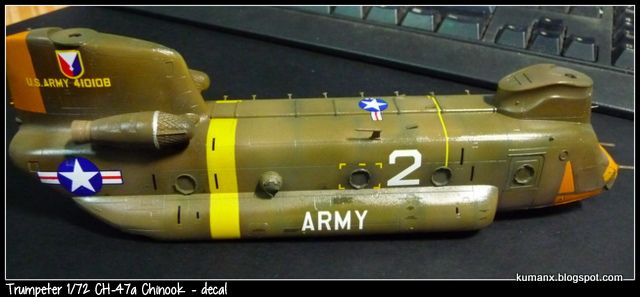
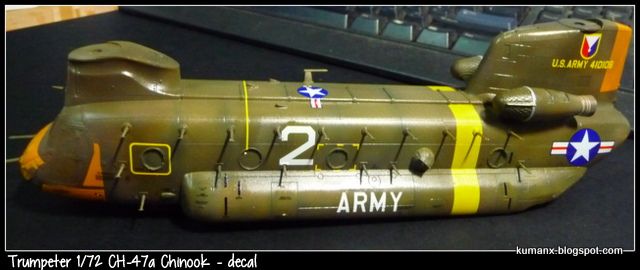
completed the decal for the chinook and a layer of future already been applied to seal the decal..

as usual i used Mr Mark Setter & Softer for decal application over a layer of clear-coated surface..

the decal fit nicely and conform well to the surface with the help of the decal solutions.

Now i let it to dry for a day before another clear coat is sprayed on and ready the surface for the next step...

1. oil wash & a bit of weathering
2. Unmasking of the clear parts.. bulge windows, windows and cockpit..

on to the photos..

 #ch47achinook

until later.. kuman


Friday, January 23, 2015

Trumpeter 1/72 CH-47A Chinook Helicopter - WIP#4 (ready for decal)

UPDATES!!

The rest of the build WIP can be viewed @CH-47a Chinook WIP

Clear coat is on and the mask is off..

After some clean-up (i always cannot get the right masking job) happy.gif always need to touch-up later on

except for the masking on the cockpit and windows.. the rest is now off and coated with a clear coat..

next step will be the decal...

until then... the photos follows.. laugh.gif

oh BTW.. the orange near the fron of the helo is a custom mix.. Tamiya flat red + Yellow


The rotor blades.


#CH-47A Chinook


Tuesday, January 20, 2015

Trumpeter CH-47A Chinook Helicopter - WIP#3 (olive drab is on!!)

Updates!!!

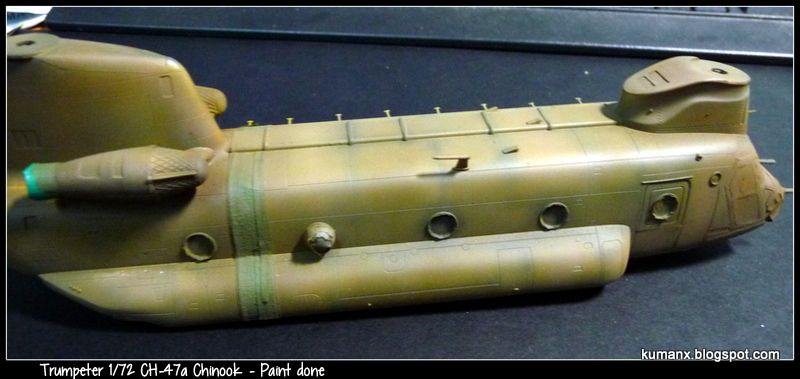
Olive drab is on... not out from bottle... mixed a bit with dark green and green and some grey for the top part... my newbie attempt at modulation laugh.gif

as of last night... painting is done.. the masking also off already
ready for 2nd clear coat for decal..
as of now.. the olive drab update..

decal will be next after the mask come off


kuman

Thursday, January 15, 2015

Trumpeter CH-47A Chinook Helicopter - WIP#2 (paints)


Been busy as of late.. but need to get this done as the resolution for the new year is to built more, 

Again this will be due in March 2015 for the the Transport GB.

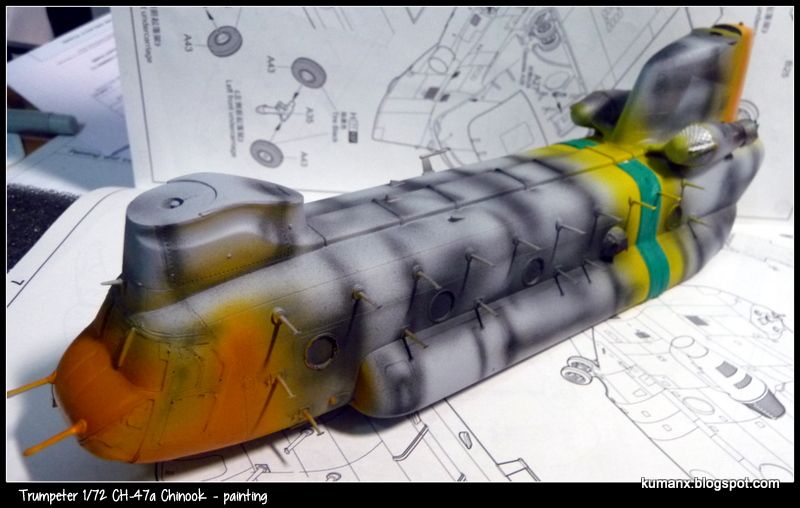
Been a while so i've completed the priming process and now moving on to pick the color to paint. I choose to paint the yellow and the orange first and masked it before i start with the Olive-Darb.

on to the photos laugh.giflaugh.giflaugh.gif


The orange is the mix of Tamiya Yellow & Red and i clear coat the paint to protect it from peeling when i lift the mask later..

I guess i better get going and paint those olive-drab  pretty soon..

kuman


Monday, November 24, 2014

Trumpeter CH-47A Chinook Helicopter - WIP#1

Trumpeter 1/72 CH-47A Chinook Helicopter


To get the motivation going.. i joined the build for the upcoming Land & Air Transport Group Build (from FB) coming up in March 2015.

I'm not too sure if i can physically joined the event but the spirit of the build have to continue.. so i join in with a Chinook helicopter..

this is a fairly small kit.. but i believe the mold is a shrink down version of the big sister from Trumpeter

review can be viewed@ Cybermodeler.com & @Hyperscale

first of all.. this is going to be OOB build my plan is to have it in Rotor-fold config... since the span of the rotor blade needs a hefty estate to display.. but we'll see..
anyway this is the scheme that i intend to do.. a abit more colorful choices of the provided decal other than the boring olive drab


i start with the IP.. added some wire behind it since this will be visible through the glass cockpit... and i use a creative license to put the wire in..
the cockpit is completed.. and the innard of the fuselage also done with the seatbelt although i didnt mate the fuselage just yet...
most of the thing will not be properly visible when its done... biggrin.gif
anyway the photo follows

the "office" area


The instrument panel.. nothing fancy.. just drybrush with grey only
The windows with a "so-called" seatbelt visible from outside... maybe i need to use a thinner tape to replicate the seatbelts...


until later/... :D

Monday, November 29, 2010

MH-60K Blackhawk SOAR: Completing the helicopter

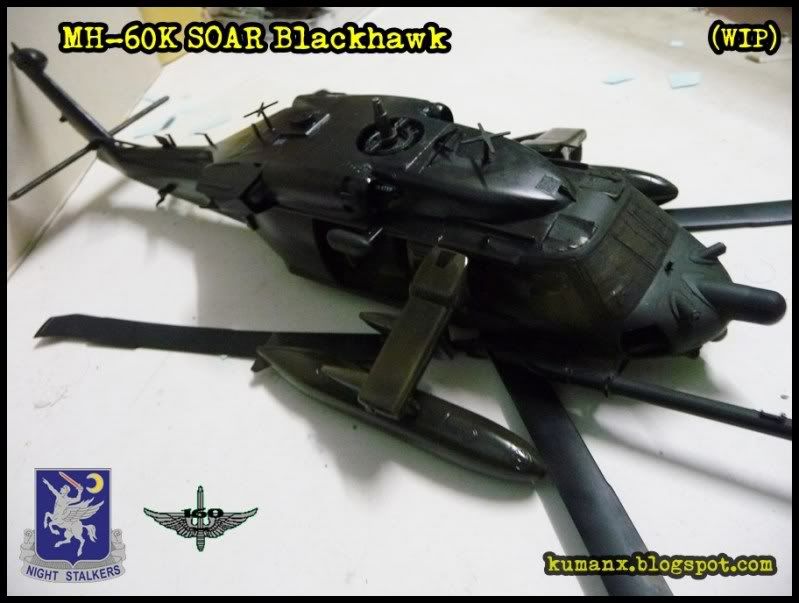
I took a break from my Panavia Tornado Gr MK1 build and continue with this helicopter which is now delayed at the decalling stage.

This helicopter also would go well with my previous helicopter build which is the OH-58D "Kiowa Warrior".

So last couple of nights, i take this one out from the display cabinet and start to dry-fit the miscellaneous things that i need to make it to the finishing stage.

Still need to get the external fuel tanks and the rotor on the helicopter before i can proceed with attaching the wheels.


Noticed that at the bottom left is the emblem of the unit "NightStalkers"


So this is where the helo is at the moment and will try to finish attaching the parts together by this week and have it ready for display by next week.

hopefully i dont get distracted again this week and be able to finish this MH-60K Blackhawk SOAR helicopter

More photo below..


Wednesday, June 23, 2010

OH-58D "Kiowa Warrior" completed


Its about time i got this done...
This is OH-58D Kiowa Warrior in 1/35 scale.

Learned a lot of stuff while building this and hopefully i can keep the pace of building my kit.
Enjoy the photos and more can be seen HERE


Enjoy!!
Related Posts with Thumbnails