Followers

NOTICE:

Now you can click on photo and it will zoom in. Thanks to the HighSlide Javascript. How to do it? its in my "Blog Stuff" page...

Wednesday, June 08, 2011

Today is IPV6 Day!! June 8, 2011

Just a small update...

A friend text me this morning informing me that today is the official IPV6 (Internet Protocol Version 6) Day.
To learn more about IPV6 click Wikipedia :o)

(the image i got from http://www.worldipv6day.org/)

I do believe that we need to move forward with the IPV6 since i think i read somewhere that the IPV4 is almost running out of number already (although i think the number is a lot already in IPV4).

The IPV6 also a mouthful to remember whereas the IPV4 is still remember-able..

anyway enjoy the unique day...

Friday, June 03, 2011

Gap found!! WIP: Revell 1/144 Space Shuttle Discovery

Last night i work alittle bit on the shuttle mainly trying to get the slight warp on the cargo bay fixed.... by adding this support inside the cargo bay. Since the cargo bay will be closed so no worry about adding stuff in there..


After i'm done with the warping i test fir the cargo bay door... and as expected... i saw a big gap between the door hinges(??) with the side of the cargo bay...
still trying to figure out the best way to tackle this...

1. the first idea is to put a plastic strip on the inside of the cargo bay and then fill the gap with putty
2. To fill the gap with a plastic strip, and then fix the join with some putty
3. similar to step one.. but instead of using putty... use bondite.. err will bondite shrink over time?


Thursday, June 02, 2011

Video: Very nice youtube for Pigment Weathering..

I found this a few minutes ago, and i found that this is a very useful video for modeller like me or anyone wanted to know more about Weathering with Pigments.

I for one never used pigments before in my build, just because i dont know how to properly apply it but after watching this video, i'm definitely going to try it on my next armor build....


In fact, watch all of his video, all feature a very nice and easy to follow tutorials regarding modelling especially on how to apply all those techniques that you read so much about on the internet.

He also have a blog at http://armorfarm.blogspot.com.

thought i share it.. :)

WIP - sanding: Revell 1/144 Space Shuttle Discovery

After some sanding process last night...
here is the result.....


still need to touch-up here and there... also according to a fellow modeller from ARC (crowe-t), i maybe need to polish the window.

On top of that i also completed the assembly of the External Tank and also the SRB's.
Again a few gap & alignment occurs which i already treated with some putty and a little bit of sanding.

if you look closely, you might noticed that there are some "bling-bling" on the External tank, just ignore it for now since that is my so-called strap on the tank made using the pot-fixing-tape which i'll cover them later with Mr Surfacer.

Also in the above photo is the comparison on the size of this kit compared to the Gunze paint bottle.

More update soon... :)
kuman

Wednesday, June 01, 2011

Revell 1/144 Space Shuttle Discovery with Booster Rockets

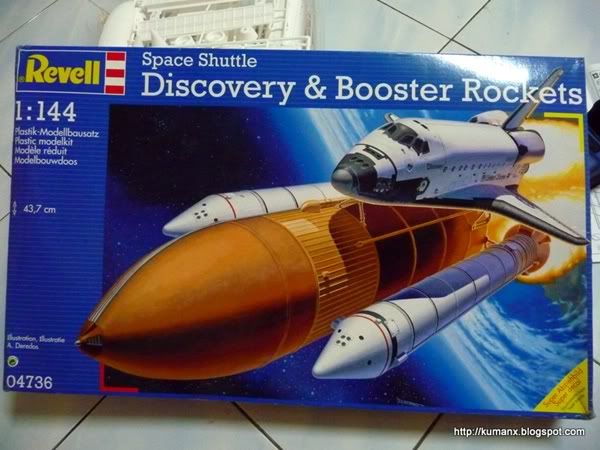
 1/144 Space Shuttle Discovery, 
30 years of Space Shuttle program

 When i was in the midst of rigging my Titanic last month, i have the urge to start a new project and after discovering that this year is the 30 Years anniversary of Space Shuttle program... i thought this is a appropriate time for me to start this.... (another reason is because the box is big, attract a not needed attention to my stashsmile.gif)

Anyway... i got a few options out of the box, but i choose Discovery because of a nice ring to the name and easy to spell..smile.gif but to be historically right, Discovery retired (although there are talks on not to retire it just yet) in March ahead of the Endeavor & Atlantis.

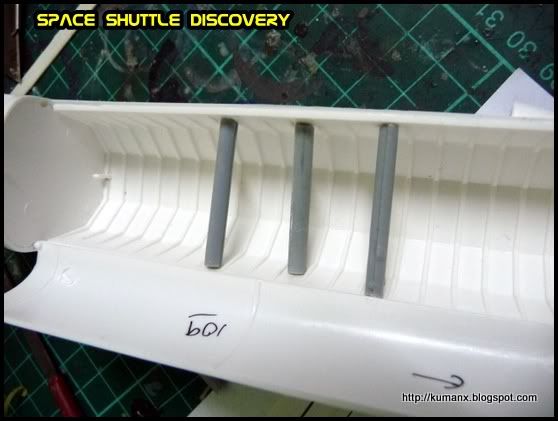
Moving on.. here is the box shot..
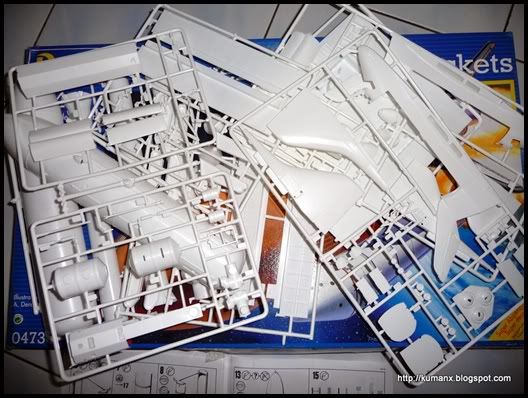


and the sprue tree


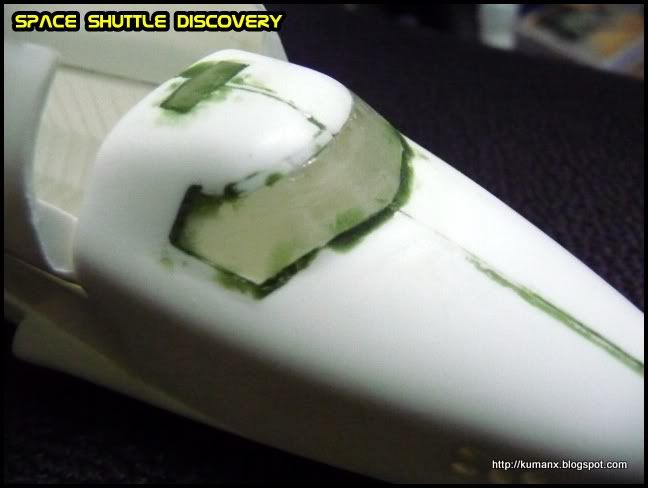
The first problem i encounter is the gap between the windscreen and the body... a quick fix is to use plastic strip chunk-ed in the gap and them let the glue cured.

 After the glue cured.... i apply some Green putty, since this whole area (the windscreen) will be painted black.. so i just sand away and maybe try to repair it with some finer sanding later on.
Related Posts with Thumbnails