So due to that suggestion, i mixed up another paint mixture but this time i tone the red-color down a few drops (so the color will have more yellow in it) and begin spraying the final layer to cover some of the panel lines (noted: some not all, if cover all the panel-lines then what the purpose of me doing the pre-shades earlier, right?) :D
Thanks to my modelling buddies for the suggestions.
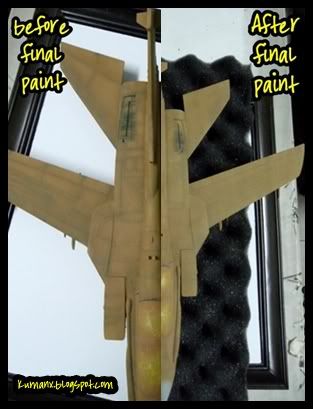
and below is the result of the final paint layer.
First is the side by side comparison of the paint layer.
Now there rest of the aircraft.
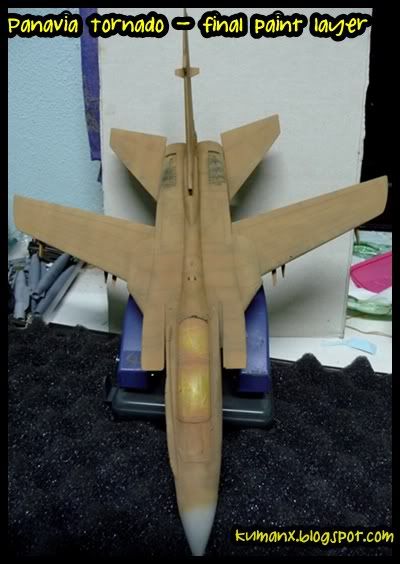
Underbelly
(note that the wheel bay is not yet painted) 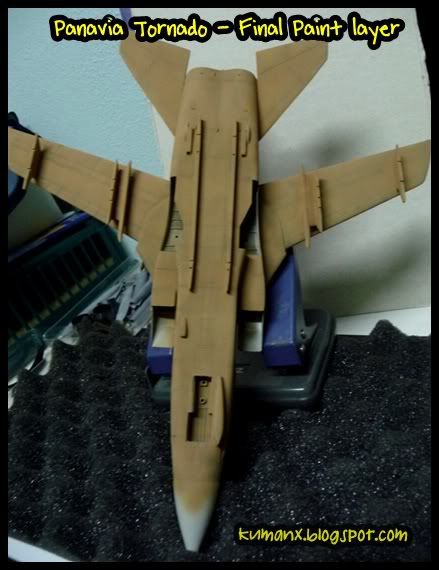
Side view
(note that the radome and the airbrakes is not yet painted) 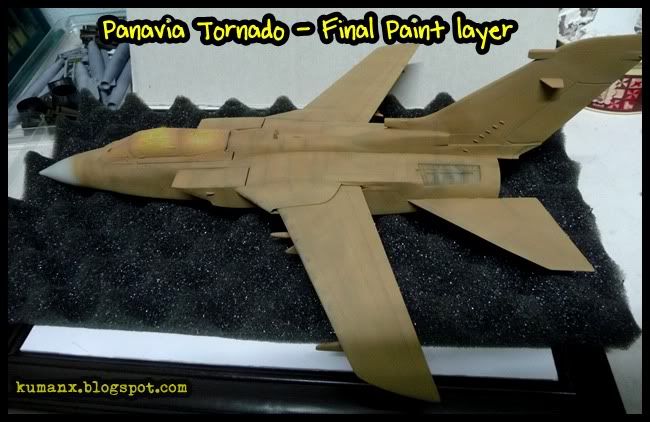
Next, this Panavia Tornado will undergo a FUTURE (floor cleaner) bath and some detail painting such as the landing wheel bay, radome and exhaust.
In the coming days, the build will be more exciting as i would proceed with decalling (this will be very interesting) and weathering (yippee!!)
Stay tune..
3 Comments this post:
kuman.. dah siap.. compare la ngan real punya gambaq... hehe
tahniah jika da siap...pasni dah tak bizi yer?..hehe
wah nmpk hebat design tue walau cik tom xreti psl ni.hehe
thanks ye 4 ur komen..cik tom hargai n cuba perbaiki :)
Post a Comment